
An online booking widget lets customers start an appointment from your existing website. The useful decision is whether to embed the form, open it in a popup or send visitors to a separate booking page. Your choice should fit the service, the website builder and the way customers book on mobile.
This guide covers seven practical checks for salons, consultants, tutors and other service businesses in the US, UK and Europe. An online booking widget does not fix unclear services or incorrect availability by itself. Configure the booking workflow first, then test the complete journey on the page where customers will use it.
1. Choose how the online booking widget opens
A hosted booking-page link is a straightforward option when you want a button to open a separate booking page. An embedded form keeps the booking interface within a page on your website. A popup can let visitors read the service information first and open the form when ready.
In Accurate Scheduler, the shared website booking widget supports a popup button or an embedded frame. Use the controls available in your workspace to choose the presentation and generate the code. Compare it with a normal booking link before deciding that an embedded form is necessary.
| Presentation | Useful starting point | What to test |
|---|---|---|
| Hosted booking-page link | Email signatures and business profiles | The destination and service explanation |
| Embedded frame | A dedicated appointment page | Width, height, scrolling and mobile layout |
| Popup button | A service page with supporting information | Opening, closing, focus and the return to the page |
These are presentation choices, not a promise that every website builder permits every script. Check the editing permissions and custom-code options for your actual website.
2. Prepare services before installing the online booking widget
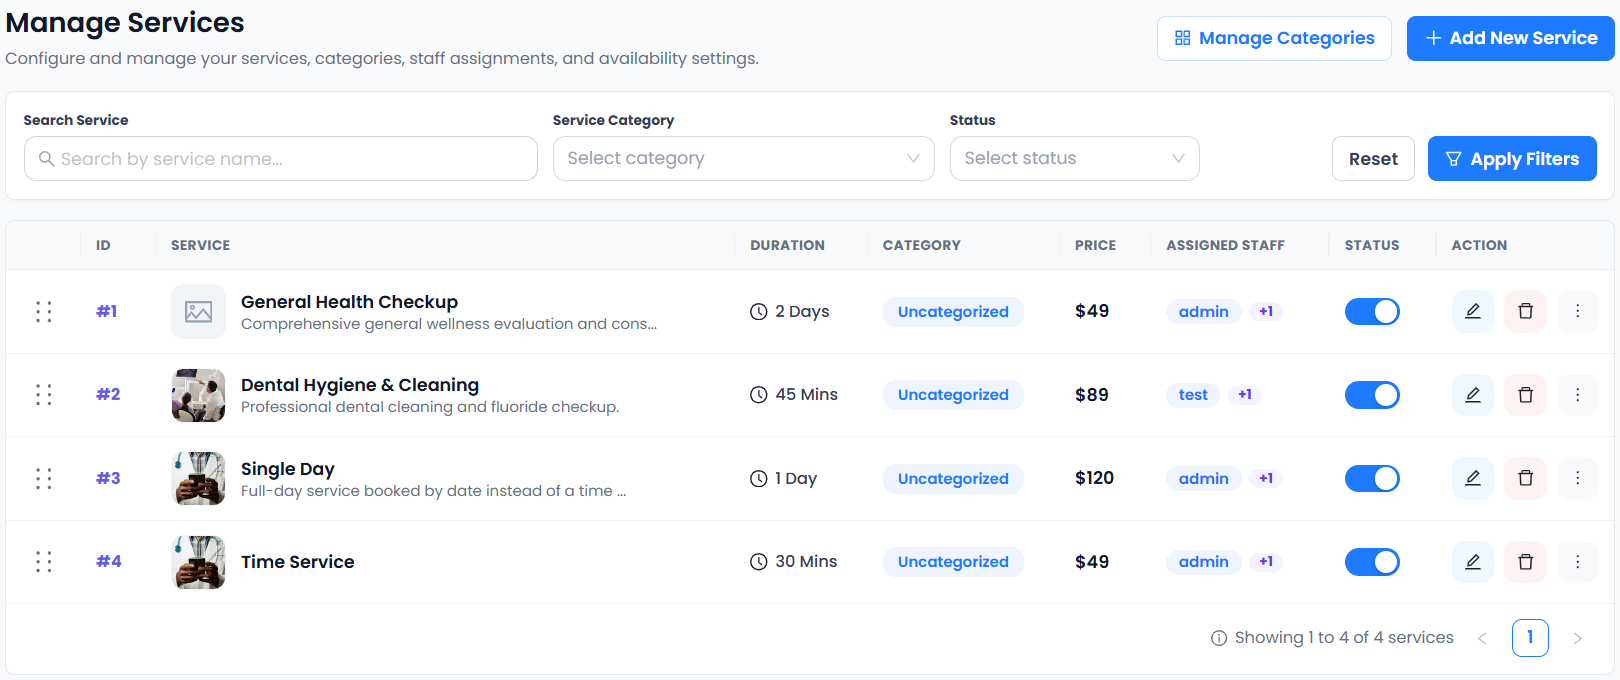
Give each bookable service a clear name, duration and price. Assign the staff who deliver it, set their shifts and holidays, and test an available appointment. A well-placed booking button is not useful if a customer cannot distinguish an estimate from a paid service.
Accurate Scheduler includes unlimited staff and services in Free and paid plans, while appointment limits apply. Staff Panel access requires a paid plan. Follow the service setup guide and team scheduling overview before changing your public website.
3. Put the online booking widget beside a clear service explanation
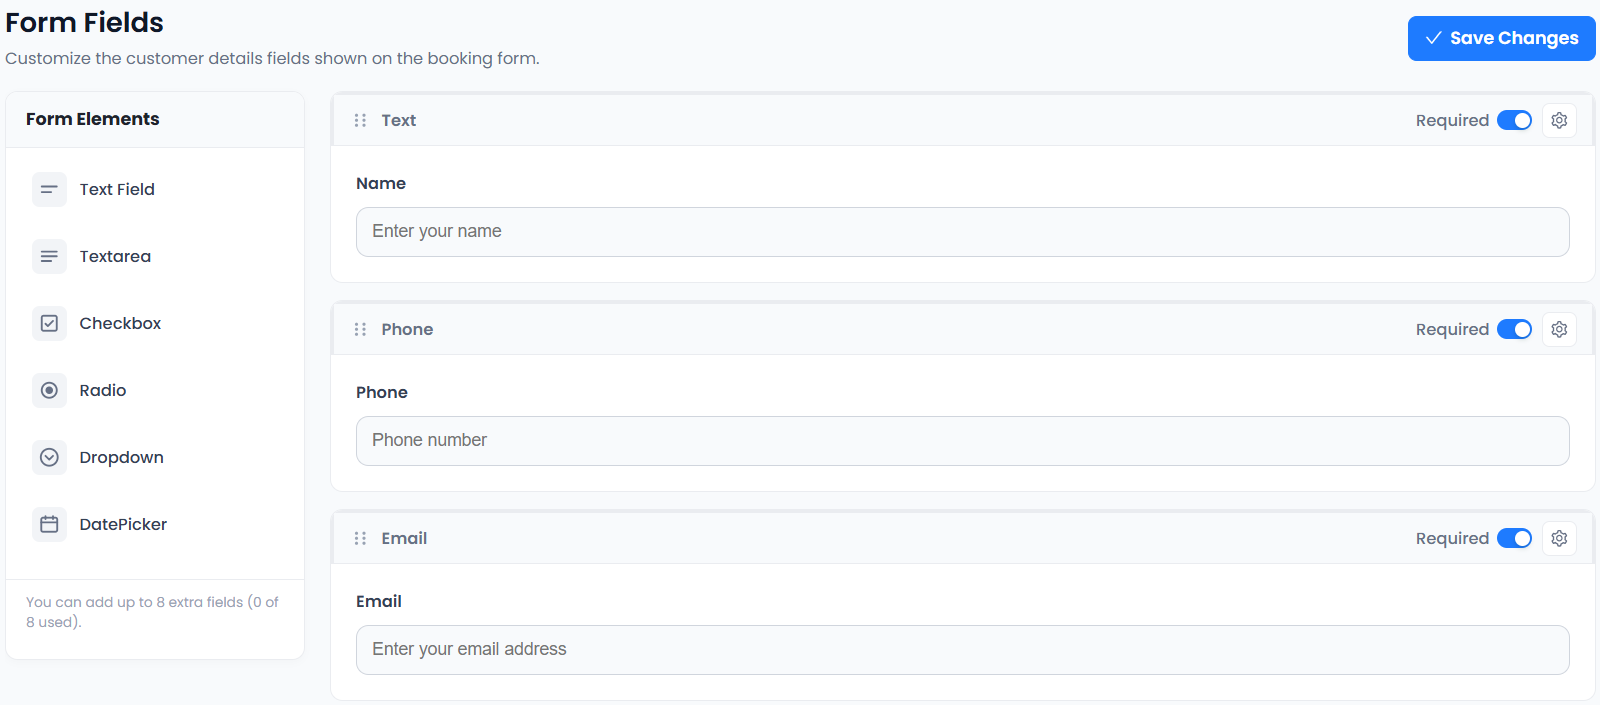
Tell the visitor what happens next. A consultant might place a “Book a consultation” button beside the session scope. A salon can place a booking route next to treatments, prices and location information. A home-service business should distinguish an estimate appointment from an agreed repair job.
For US and European customers, show the actual business location and clarify which timezone the booking flow uses. Avoid a numeric date that can be read in two ways without context. Do not assume that an international telephone code identifies the customer’s current location.
Keep the call to action specific. An online booking widget for a paid consultation should not look like a free enquiry form. Review the service fee and delivery format before the client reaches confirmation.
4. Add the generated code through your website’s supported method
Copy the code produced by your own Accurate Scheduler workspace and place it in a custom-code area that permits the generated script or frame. Use the booking widget instructions and test the saved page, rather than assuming the editor preview matches the published layout.
The shared integration can be used on suitable WordPress, Shopify and other websites. It should not be described as a native app-store installation. Appointment payments take place through the configured Accurate Scheduler booking workflow; an embedded form does not imply that Shopify creates an order for every appointment.
If you need the website platform’s own implementation details, WordPress documents its Custom HTML block. Whether a particular account can save scripts depends on the website’s permissions and configuration. Do not remove security controls merely to make an embed work.
5. Review the online booking widget on a small screen
Open the page on a real phone if possible. Check that the form fits the available width, the next action remains visible and the customer can move through services, staff and times. An embedded frame may need a different height from the desktop layout.
For a popup, check that the visitor can close it, return to the service description and open it again. Test keyboard navigation too. A modal that looks correct with a mouse can still be difficult to use without one.
Keep visible field labels and clear instructions. The W3C guidance on labeling forms explains why labels help users understand controls. Use your appointment booking form checklist to review what customers are asked to provide.
6. Compare the workflow, not just the booking button
SuperSaaS lists a website booking widget and a custom booking-button option. Picktime also lists booking-widget and website integrations. Those shared capabilities are a reason to test the actual journey rather than assume one provider wins because it offers an embed.
For each product, verify your website platform, service choices, calendar requirements and payment provider. Check current plans directly. Accurate Scheduler’s booking widget is included in Free and paid plans; Google Calendar two-way sync and some integrations require a paid plan. Provider accounts and transaction charges remain separate.
US businesses and European businesses may need different currencies, payment eligibility and language settings. Confirm those requirements in your own account and region. A translated booking page or an embedded form does not establish compliance with every local requirement.
7. Test the online booking widget through confirmation
Complete a clearly marked test booking from the website, then inspect the appointment record. Check service, staff, time, timezone and payment status. Use the provider’s supported testing method for payments where available; live transactions can incur charges.
Check a received notification and the supported cancellation or rescheduling route. The website button opening successfully is only the first step of the online booking widget test. Repeat the affected checks after changing services, code placement, templates or provider connections.
Explore the website booking widget, try the booking demos and follow the test-booking checklist. Choose an appointment allowance that fits the volume your business expects.