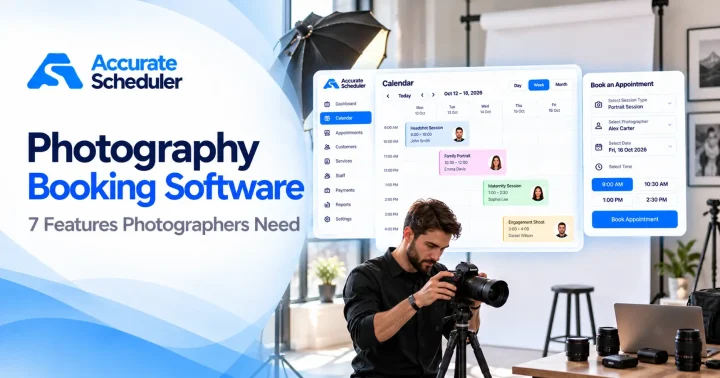

A Google Business Profile appointment link can send a customer from your local listing to a hosted booking page, even when you do not have a separate website. The customer follows the link to choose an available service and time. Your profile must be eligible, and the relevant booking-link controls must be available for your business.
This guide explains seven practical checks for salons, tutors, consultants and home-service businesses in the US, UK and Europe. It describes a manually added link, not a claim that Accurate Scheduler is a Reserve with Google partner. The destination still needs a configured scheduling account and a public booking page.
1. Check Google Business Profile appointment link eligibility
Start with the profile you legitimately manage for your business. Review the available booking options rather than creating another listing just to obtain a button. Google controls which features and transaction types appear, and those options can vary by business and region.
Use Google’s official local-business-link guidance as the reference. Do not treat a competitor’s marketing screenshot as proof that your own profile will show the same controls. An online-only business should check profile eligibility before investing time in this particular channel.
2. Prepare the hosted booking destination first
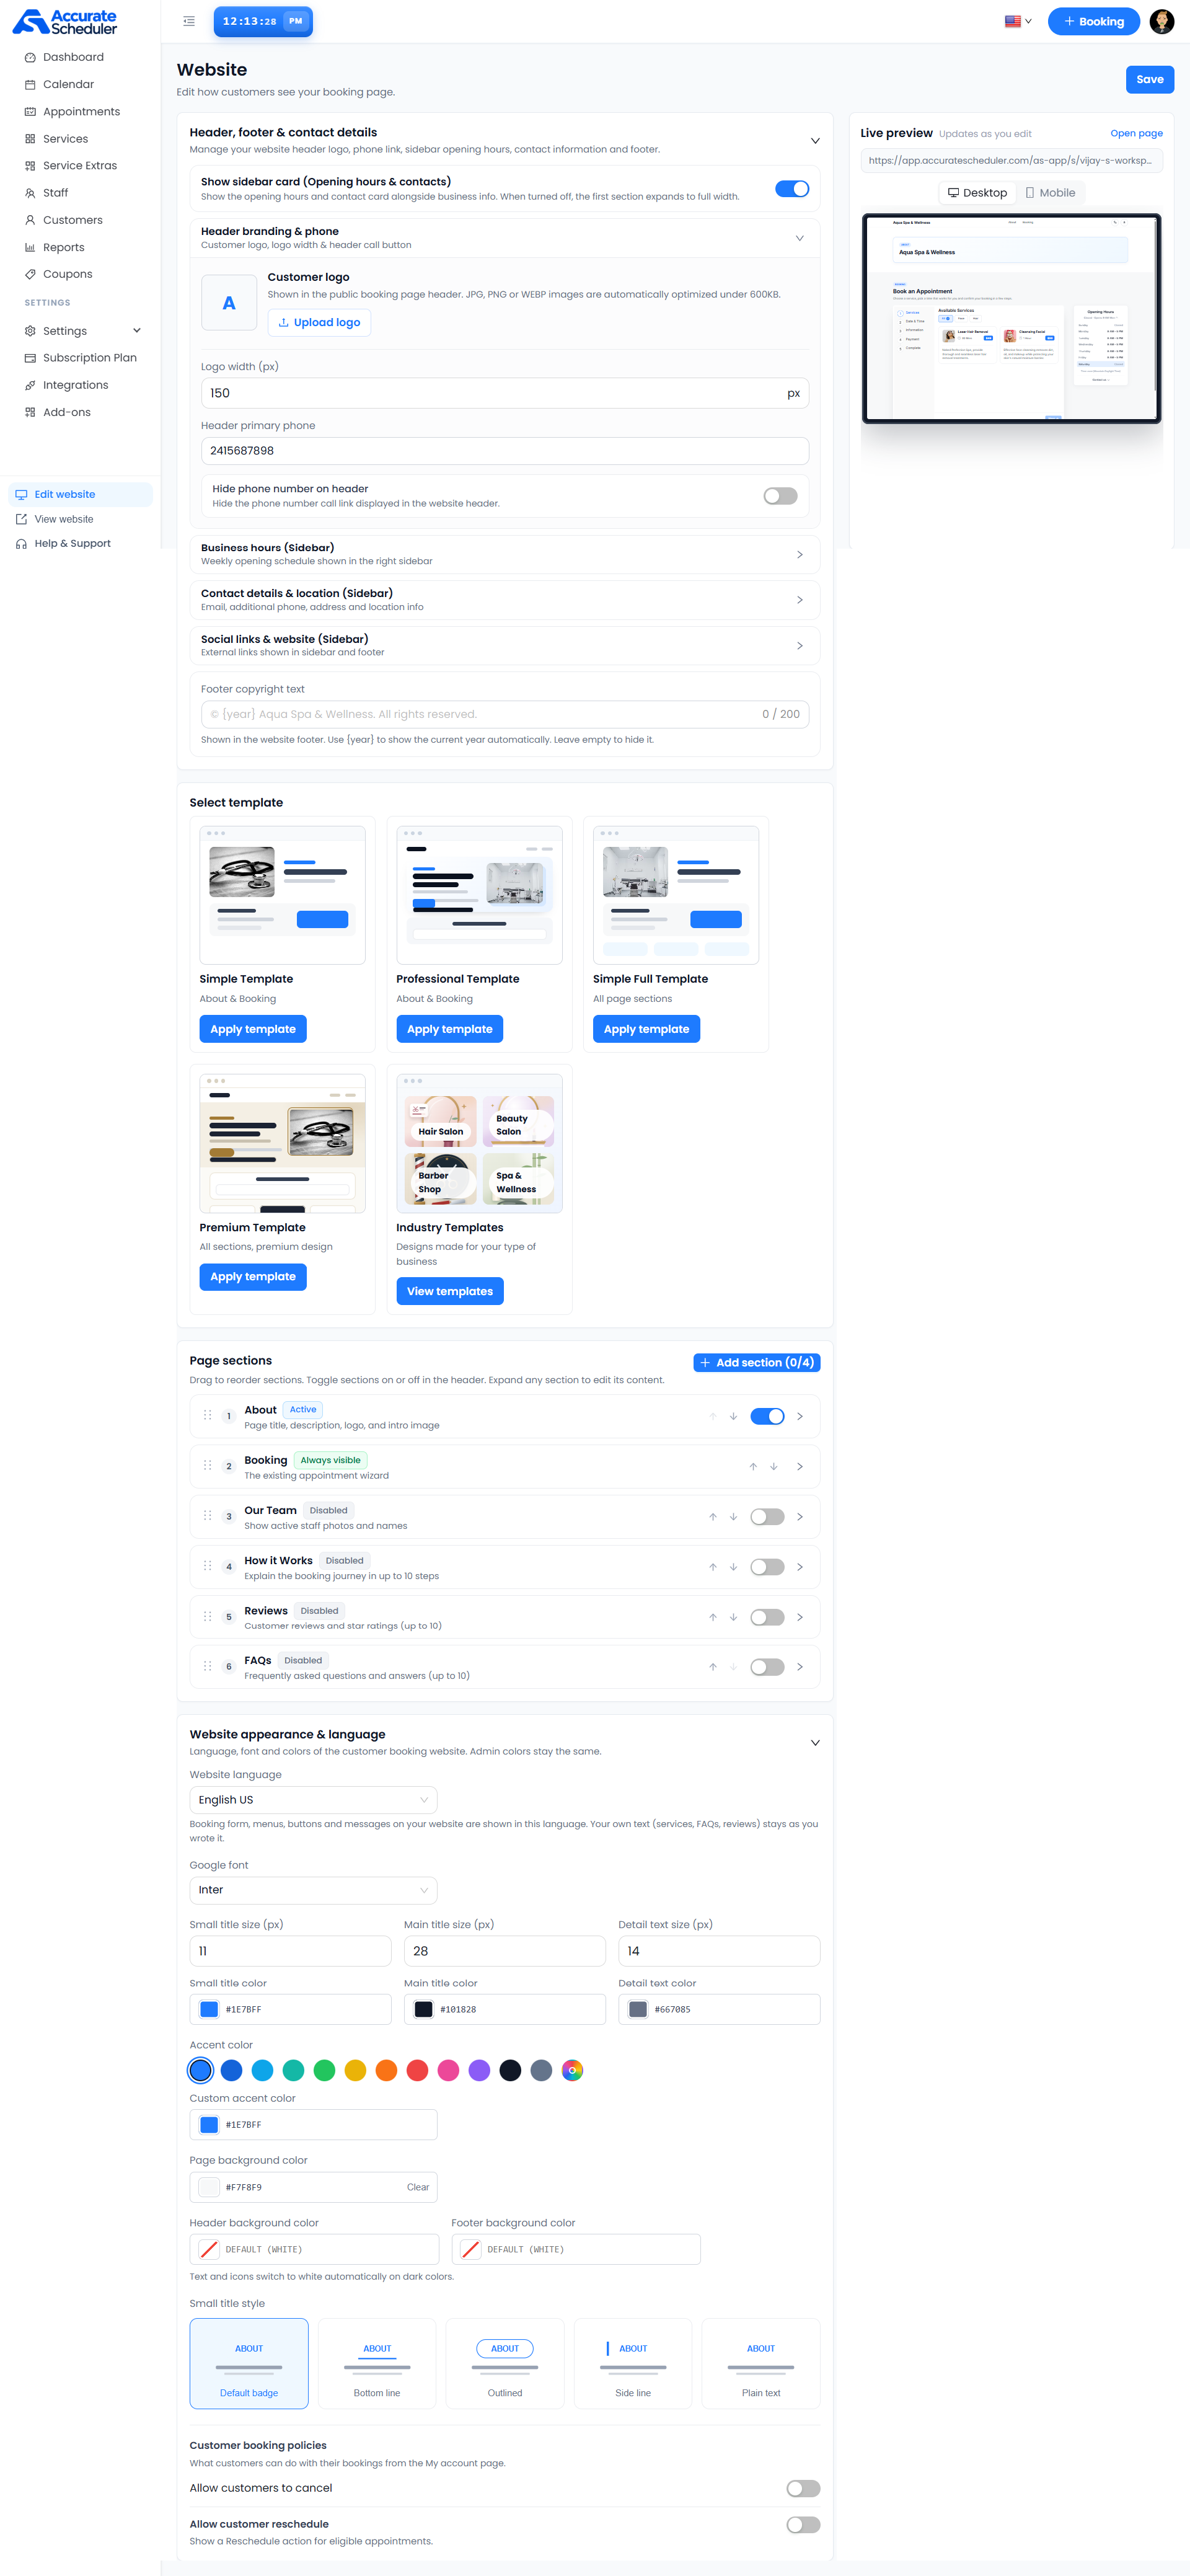
A Google Business Profile appointment link should lead to a useful customer page. Configure your service names, durations and prices, then assign staff and working availability. Customers should understand whether they are arranging a free estimate, a consultation or a paid treatment.
Accurate Scheduler includes unlimited staff and services on every plan, with appointment allowances. Its hosted page can provide the customer destination without a separate website. Follow the booking without a website guide and service setup instructions.
Check staff shifts and holidays separately from the opening hours displayed on the page. Showing that a business opens at nine does not prove that every service or staff member is available at nine.
3. Copy the public URL rather than an admin address
Open your customer-facing booking page while signed out of the administrator account. Verify the business name, service menu and available dates. Do not share the dashboard URL, an editor preview or a private customer appointment-management link.
The Google Business Profile appointment link should be stable and specific to the business represented by the listing. Avoid unnecessary redirect chains and test the exact destination you intend to submit. A link working in your signed-in browser is not enough evidence that a customer can use it.
4. Add the Google Business Profile appointment link
Google’s current instructions say to open the managed profile, choose the applicable transaction type such as Booking, select Add link, enter the URL and save. In Maps, the route can begin under Edit profile and the relevant transaction type. Follow the controls that actually appear for your account.
If multiple links are available, Google’s documentation also describes selecting a preferred link. Review existing destinations before adding another. Do not remove a provider or replace a working appointment route without understanding how customers currently use it.
Adding a Google Business Profile appointment link does not grant integration-partner status. A manually managed external URL and a provider-managed booking connection are different arrangements.
5. Review US and European customer details
A local customer needs the correct business address and service location. A remote customer needs clear meeting instructions and a tested timezone. Neither the US nor Europe has a single timezone, so avoid a vague label such as “European time” in your booking information.
Check dates that could be read differently, such as 04/05. Where your setup permits, use a month name or an explicit format. Review the displayed currency and the business’s actual payment-provider eligibility rather than assuming the customer’s country establishes supported payments.
Use the timezone checklist and booking-form guide to check the destination reached from your Google Business Profile appointment link.
6. Test the Google Business Profile appointment link on mobile
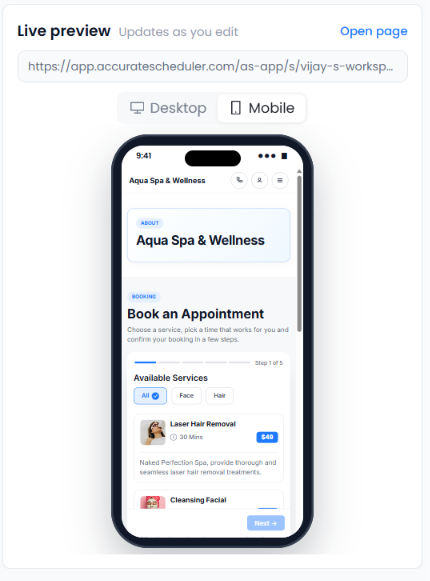
After saving, inspect the customer-visible profile and follow the booking route on a phone. Check the destination, page width, service selection and confirmation. If the link is not visible, review the profile’s current controls and Google’s guidance rather than repeatedly adding duplicate links.
Complete a clearly marked test appointment using your own contact details. Inspect the resulting record, the received notification and any payment result. A link click or form submission alone is not proof of a confirmed, paid service.
7. Compare booking destinations and measure useful results
SuperSaaS documents sharing schedule links through business profiles and other channels. Picktime describes hosted booking pages and business-profile connections. Compare the actual link workflow and plan requirements, not just the presence of a booking button in marketing.
For Accurate Scheduler, check your plan capacity and required integrations. Free includes 60 appointments and up to 100 customers; the allowance is not labeled monthly. Staff Panel access, Google Calendar two-way sync and certain integrations require paid plans.
Review completed bookings and relevant enquiries from your configured analytics and appointment records. Do not treat adding a Google Business Profile appointment link as a guarantee of local rankings, traffic or sales. Keep the business identity accurate and the destination useful. Follow the test-booking checklist before promoting your new route.