
Appointment approval lets a business review a request before committing a staff member, a room or a special setup. It works best when customers can tell what happens next. Design the approval queue around decisions your staff actually need to make and use instant confirmation for services that can run without review.
On this page
1. Choose when appointment approval is necessary
List decisions that need human judgment. A photographer may need to confirm location access, while a training provider may need to check a participant’s experience level. Standard sessions with predictable durations and clear eligibility can often stay instant.
Review what happened during the last month. If only a small share of requests needed clarification, apply approval to that service instead of adding an extra step to the entire booking page. Give each route an obvious name.
2. Ask questions that support a decision
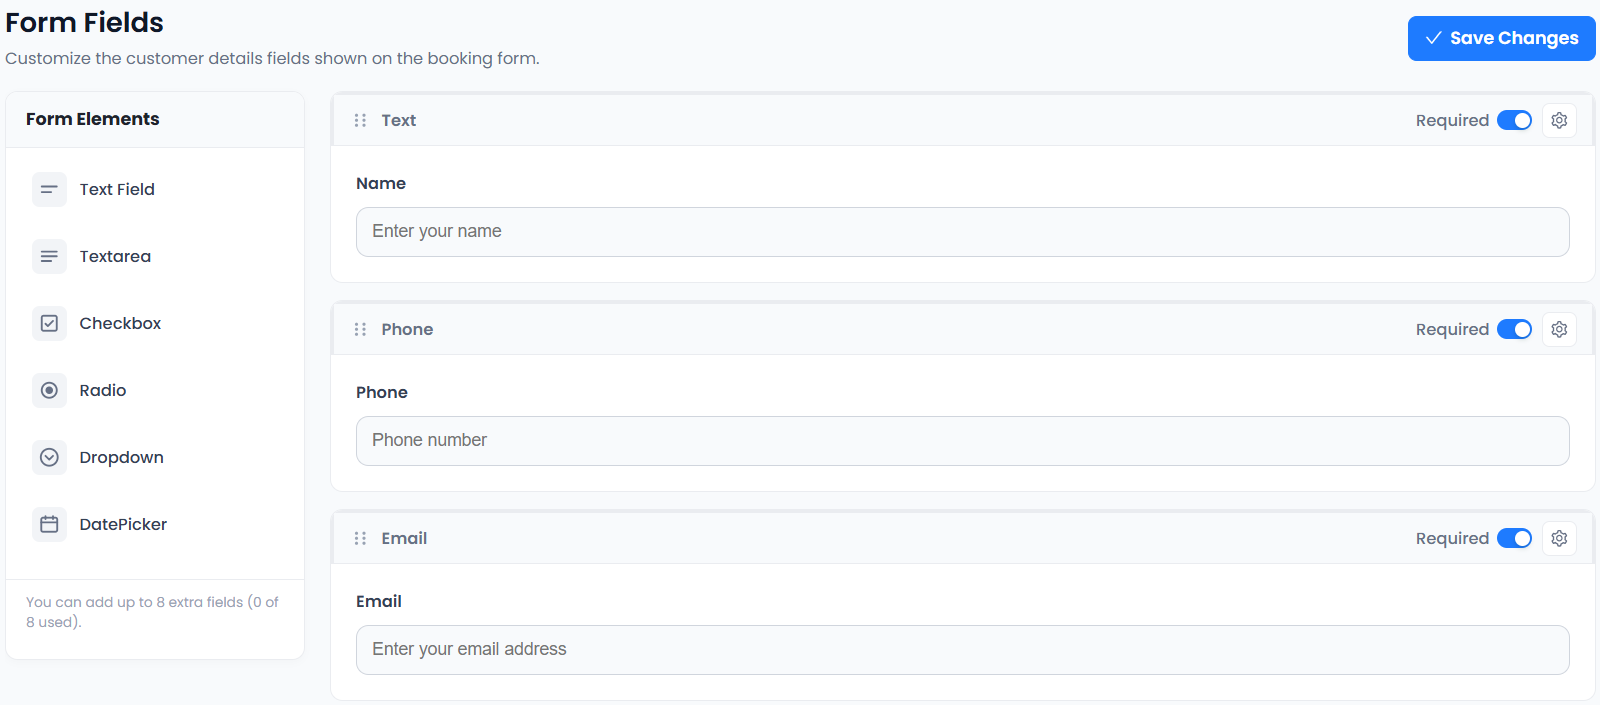
A suitable intake form collects the service, preferred date and the one or two facts your team needs. For a venue tour, ask whether visitors need a step-free route and how many people will attend. Leave unrelated questions off the form.
Review the booking form field guide and try the form on a phone. Confirm that staff can see the answers alongside the booking request and can make a decision without retyping information into another system.
3. Tell customers what pending means
Use a distinct status message such as: We received your request for 26 November at 14:00 Berlin time. We’ll reply within one business day. Please wait for our confirmation before making travel plans. Include the service and the venue or meeting format so customers can spot mistakes.
If you work across the US and Europe, define the staffed hours behind your deadline. A Friday afternoon request from Chicago may arrive outside working hours at the European branch. Write the reply deadline in the venue’s local time where practical.
4. Decide whether pending requests hold capacity
Try two browser sessions asking for the same time. If a pending request holds the slot, decide when the hold expires and who can release it. If it leaves the slot open, require the approver to recheck staff and room availability before confirming.
Test the final approval, a rejection and an expired request. For each case check the customer email, the booking calendar and any connected calendar. The first booking checklist provides a starting point for checking the customer journey.
5. Choose a payment step and test the rejected path
A business may take payment after approval or use a supported payment flow tied to the request. Record whether money is authorised or collected, and decide who handles a rejection or a changed price. A customer should understand when they will be charged before submitting.
Run one approval and one rejection with a supported test checkout. Verify what the customer sees, including the amount in USD, GBP or EUR as appropriate, and whether a cancelled request triggers any action your staff must complete.
6. Assign ownership of the appointment approval queue
Give someone responsibility for new requests, aged requests and handovers during holidays. Check Picktime’s plan comparison for its approval feature and confirm the behavior on any platform before relying on it.
Review how many requests were approved without edits, how long customers waited and whether any appointments were lost to duplicate holds. If nearly every request is approved unchanged, simplify the eligibility rules and run a short pilot with instant confirmation.